Communication and Social Networks (Fall 2021)/R Lab 1: Difference between revisions
From CommunityData
(Copying content from previous class) |
No edit summary |
||
| Line 15: | Line 15: | ||
* [https://rmarkdown.rstudio.com/lesson-1.html Install R Markdown] | * [https://rmarkdown.rstudio.com/lesson-1.html Install R Markdown] | ||
* Right-click on [https:// | * Right-click on [https://jeremydfoote.com/Communication-and-Social-Networks/week_3/r_markdown_example.Rmd this document], save it, and then open it in RStudio. | ||
** Read through the file and try "knitting" it to an output document | ** Read through the file and try "knitting" it to an output document | ||
** Finish the exercise at the end and see how that changes the output | ** Finish the exercise at the end and see how that changes the output | ||
Latest revision as of 15:16, 26 August 2021
This lab has three goals:
- Get your R environment is set up correctly
- Introduce you to the idea of R Markdown files
- Create your first network graph
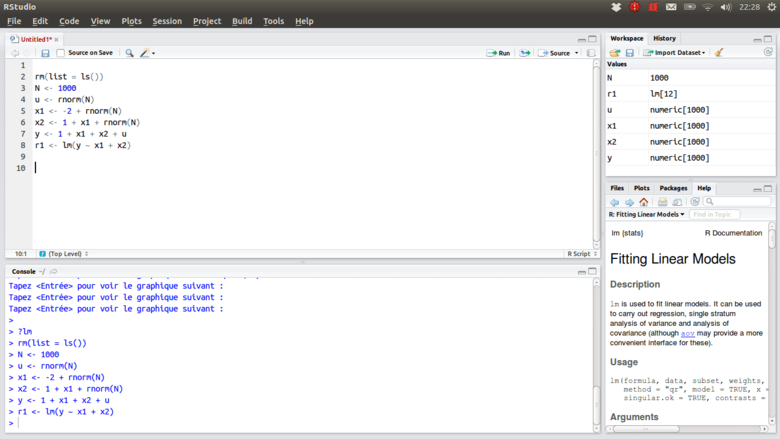
You should have R and R Studio installed by now. In practical terms, that means there should be an RStudio icon somewhere on you computer. If you open RStudio, it should look something like this:

If you have had problems getting R installed, then look over this tutorial again and if you still can't get it then reach out on Discord and we'll get it figured out.
- Once you have RStudio installed, read and watch the BasicBasics 1 and 2 tutorials from the R-Ladies Sydney group.
- Right-click on this document, save it, and then open it in RStudio.
- Read through the file and try "knitting" it to an output document
- Finish the exercise at the end and see how that changes the output
